Background: After enjoying the SIENA GARDEN-Straßenlauf 10k back in March, I jumped at the chance to run the ZFS Münster-City-Run, a 5-lap summer 10k in Münster’s beautiful city center.
But let me take a moment for a tangent/rant: What is it with weird race times here in Germany?! Last autumn’s Advents-Aaseelauf was an evening race in the dark, the spring Straßenlauf started at 3pm, and this one was at 7pm on a Sunday. It surprises me that so many races are scheduled in the afternoons and evenings; I don’t think I’m in the minority in preferring morning running (and racing, so you don’t have to think about it and pay attention to nutrition all day). Anyway, it is what it is. But an interesting and unexpected cultural difference.
And now back to the City-Run. I had plans for extending my long runs over the spring and early summer, and keeping up my speedwork. Unfortunately, toddler illnesses led to some disrupted work-/daycare-/exercise-weeks, so my running has been mainly in maintenance mode for the past couple of months.
Goal: Given my low training volume and lack of long runs – not to mention that pesky evening start time – I had no major goal other than to finish and not overheat. I’d have to see how I felt. Of course it would be great to run under 50 minutes again, but I knew that would be a stretch.
Race strategy: See how I feel, try to stick with Jochen (he wanted to run 48:00), try to run consistent lap times, hold steady until the last two laps of the 5-lap course.
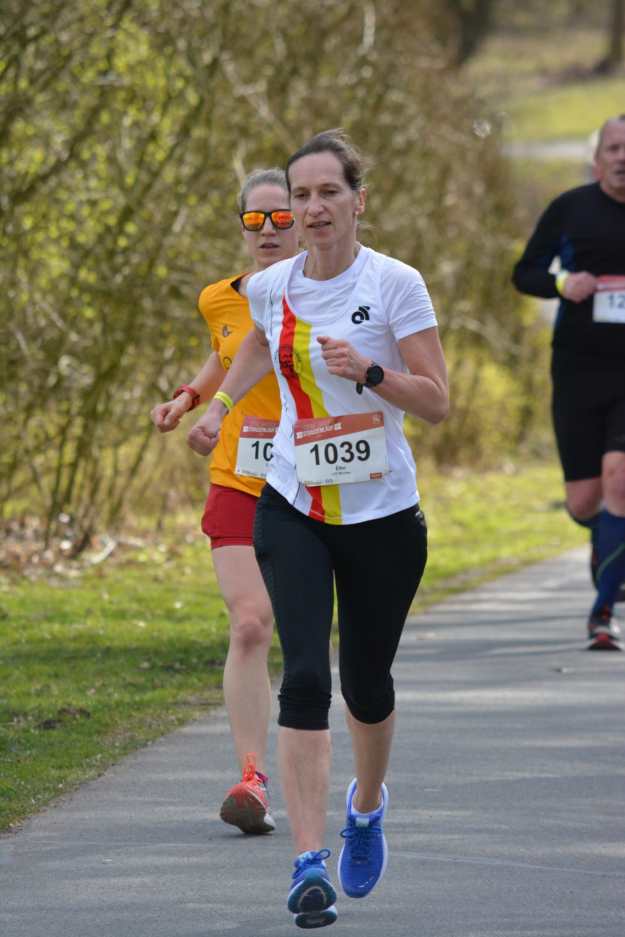
Weather & outfit: Quite warm: 24C/75F and partly sunny with a bit of a breeze. It’s summertime! Of course I wore my red shorts with side pockets and my light Wienburgpark parkrun t-shirt with my Saucony Kinvara 9s and sunglasses. I carried a water bottle, too, although in retrospect that was overkill.
The race: After hanging around and chatting with some parkrunners before the start, we set off promptly at 7pm from Münster’s iconic Prinzipalmarkt. The 2-kilometer loop took us through some twists and turns over the cobbles of the city center before we turned onto the Promenade for a lovely, shaded section. Then onto Salzstraße – more cobbles – for a longish stretch before turning left onto the Prinzipalmarkt and going around again (and again, and again…).
It was clear from the start that I wouldn’t be able to stick with Jochen. After 1.5km, I told him to run on ahead. After that, I settled into my own rhythm and just ran my own race. Evening running is hard for me: even if I pay close attention to what I eat throughout the day, I often feel heavy in my stomach and legs. It was no different here. But I kept running through the discomfort and ticked off the kilometers and laps.
The cool thing about the 5-lap course was getting lapped by the really fast runners. The winner set a course record at just over 29 minutes. So fast! There were some very fast women running as well.
Meanwhile, in my own race, I was ticking off sub-5:00 kilometers according to my Garmin, but my watch and the course kilometer markers were way off. Too bad! My watch had me running faster than I probably was.
My legs started feeling the pace and distance on the fourth lap; I think running on cobbles is also harder than it seems. Starting the last lap and last two kilometers, I dug in, took a deep breath, and loosened up my stride to see what I had left in the tank. That felt good, and I did actually pass a few runners. Turning onto Salzstraße for the last 500m, Theresa – out for a regular run – jumped in and ran me towards the finish. That was a huge help – thank you!
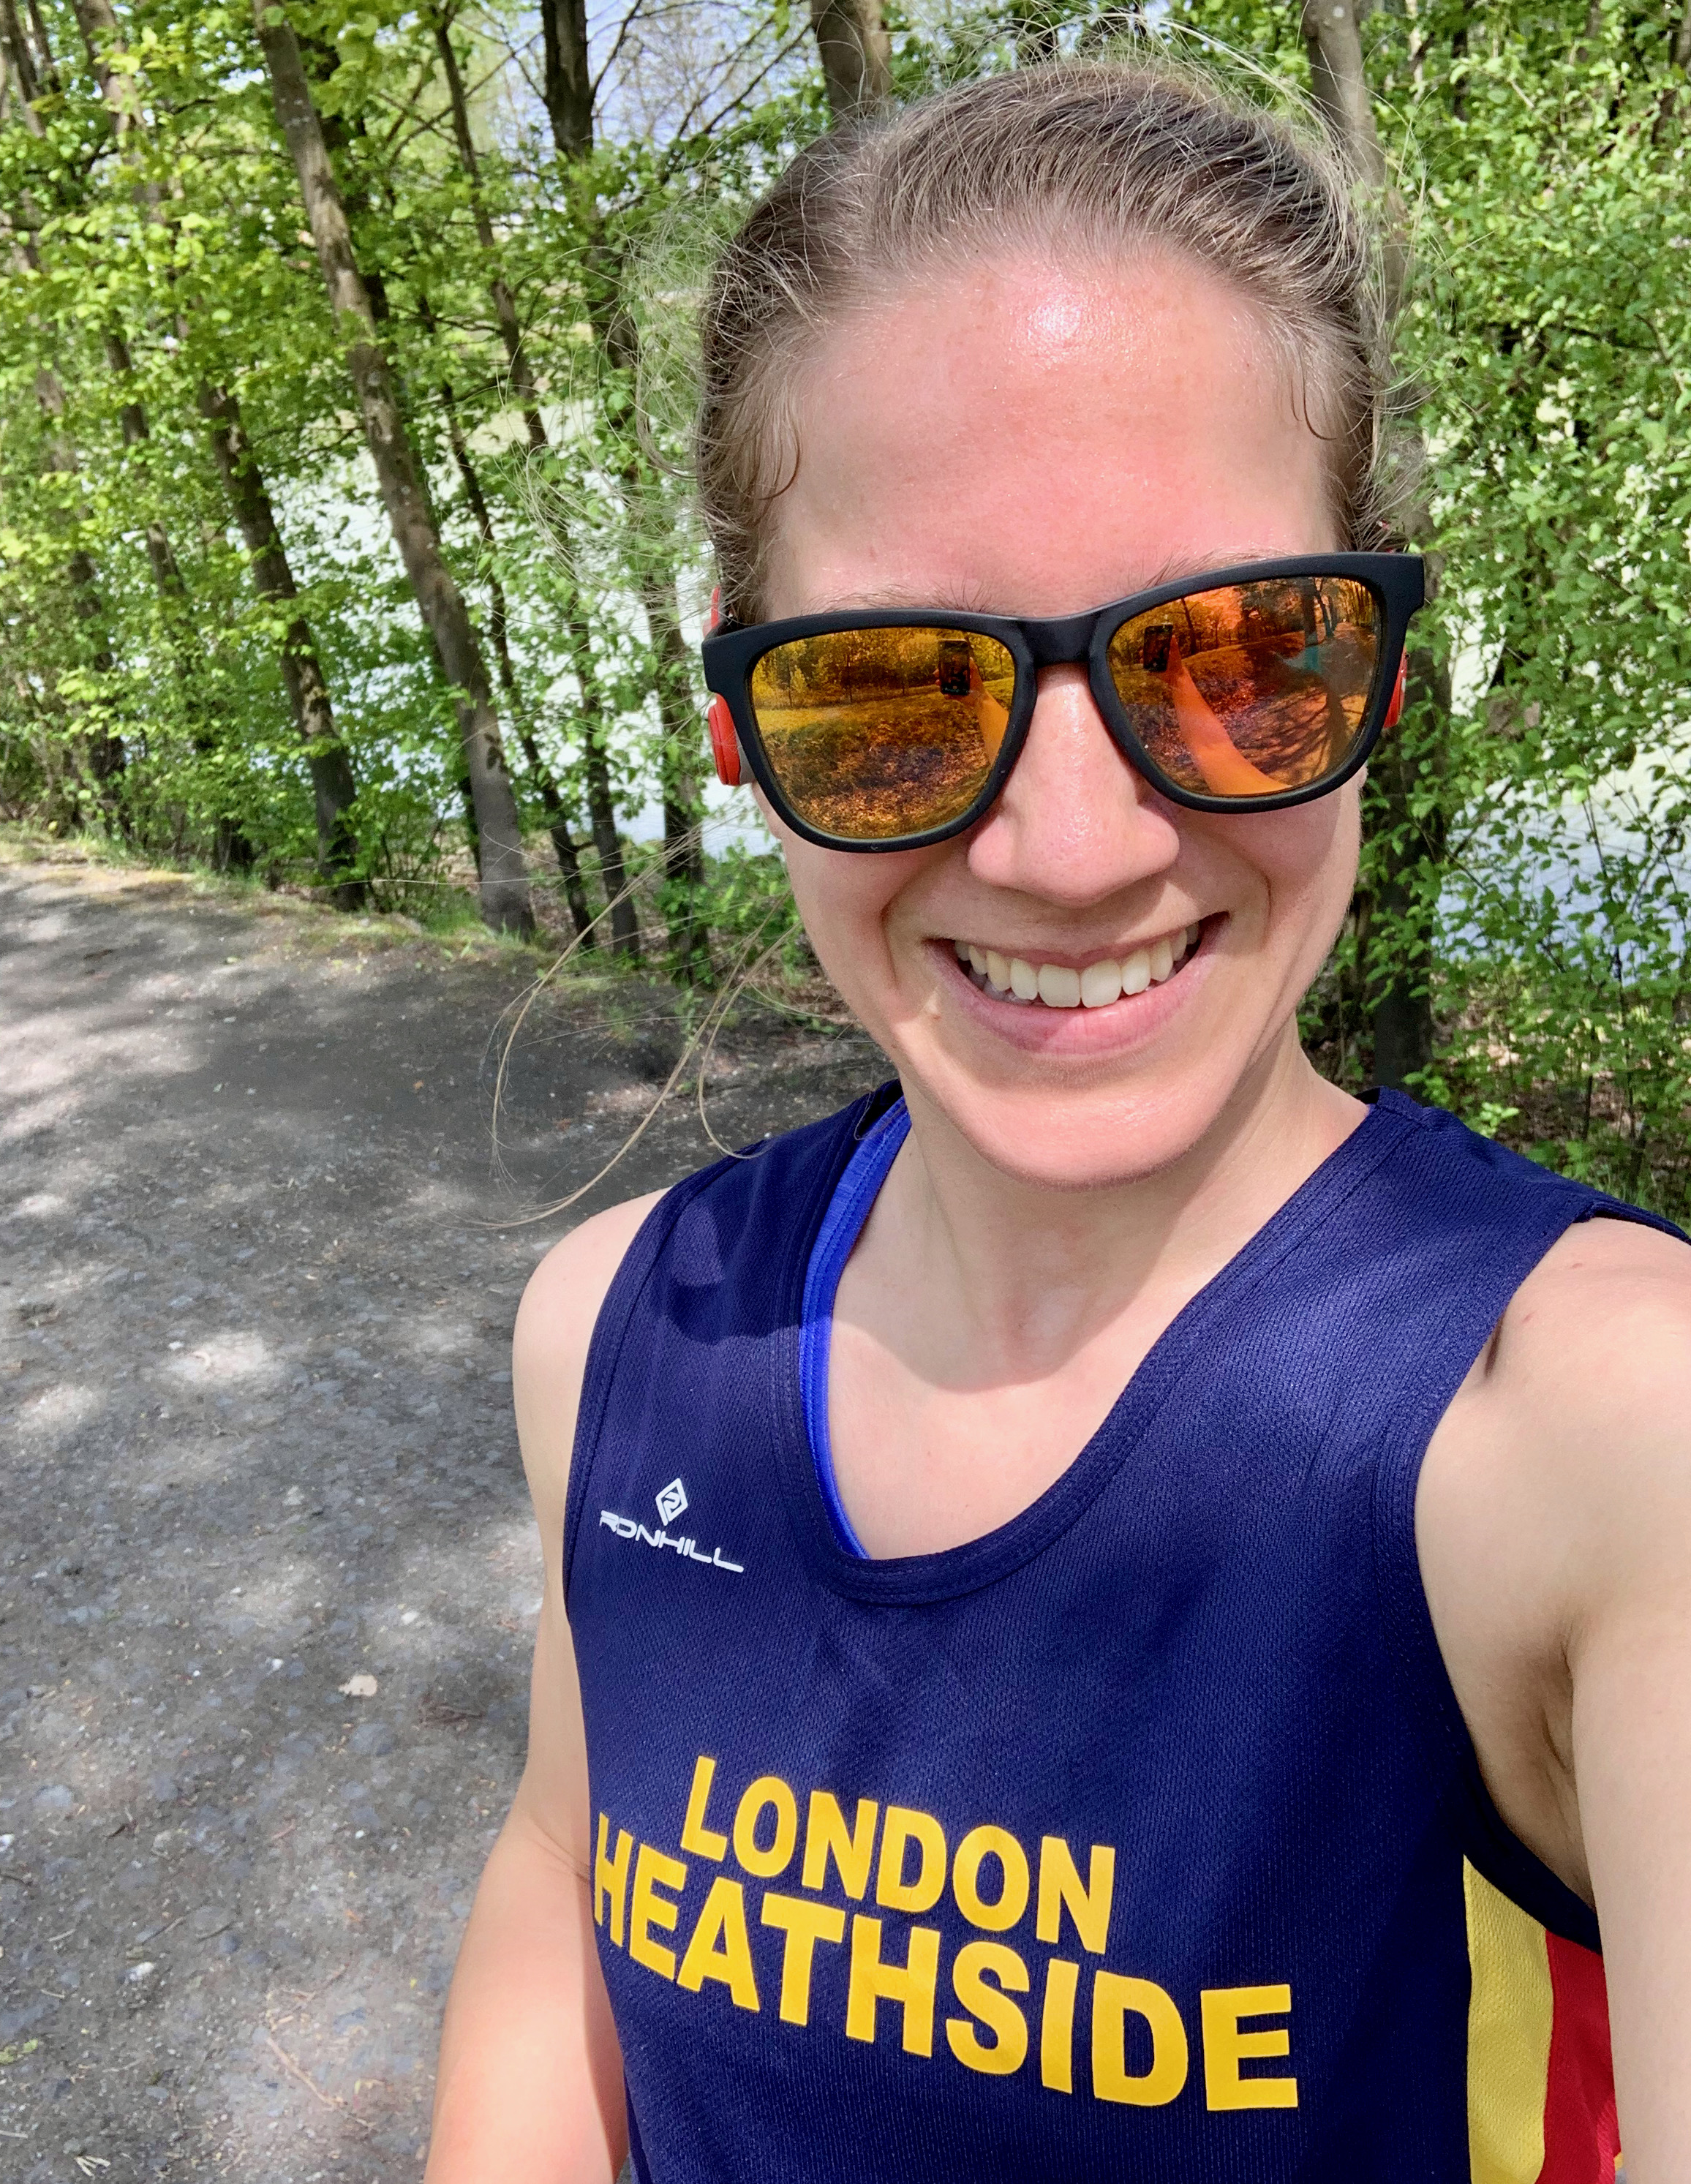
I had no kick left but ran through the finish just as the clock ticked over to 51:00. This is how I felt:

The result: My chip time was 50:48 (5:05/km or 8:11/mi average) for the 10k. A bit disappointing not to come under 50′, but given my recent (lack of) training I’m happy with it and couldn’t have run any faster. I finished 34th of 62 women (rant number 2: why did only 62 women run this 10k, when there were 211 male finishers?! That is a huge discrepancy).
Here are my lap splits – not too uneven, but a clear slump on lap 4:
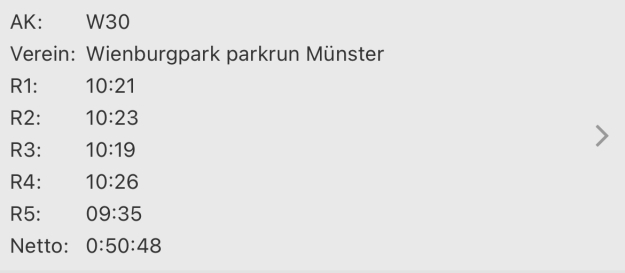
Spilts on each of the 5 laps. I was hurting on the 4th lap!
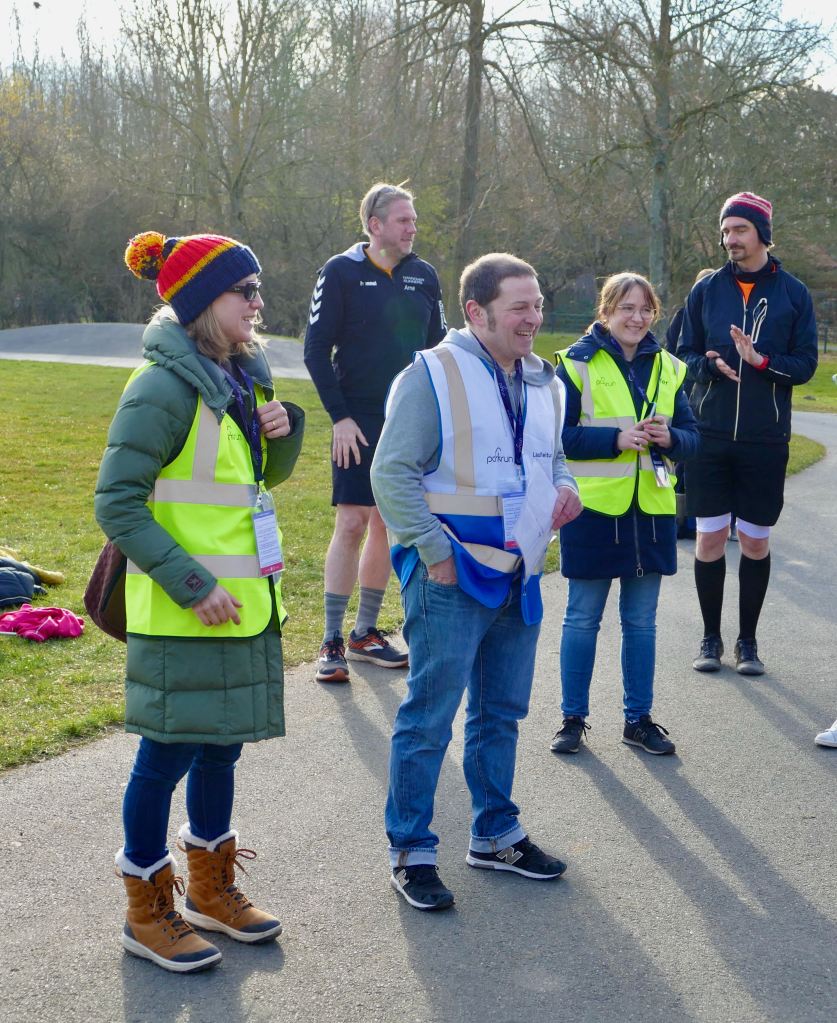
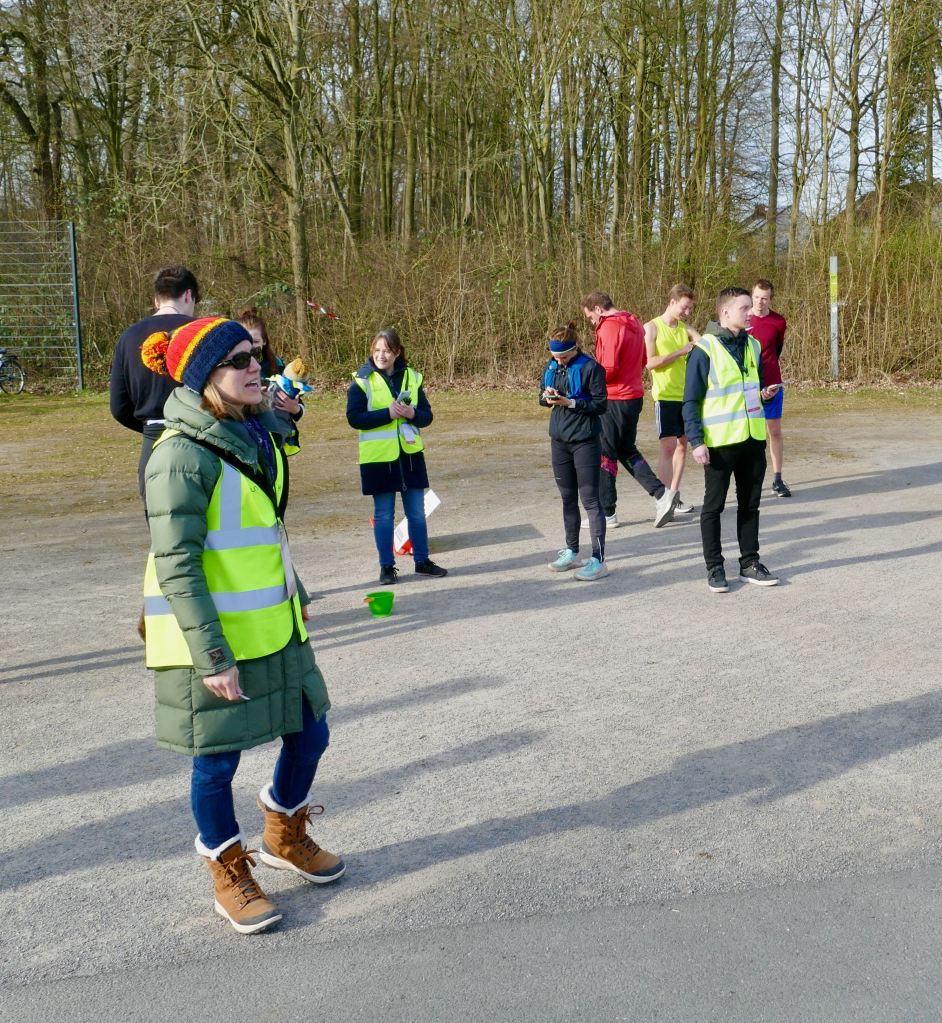
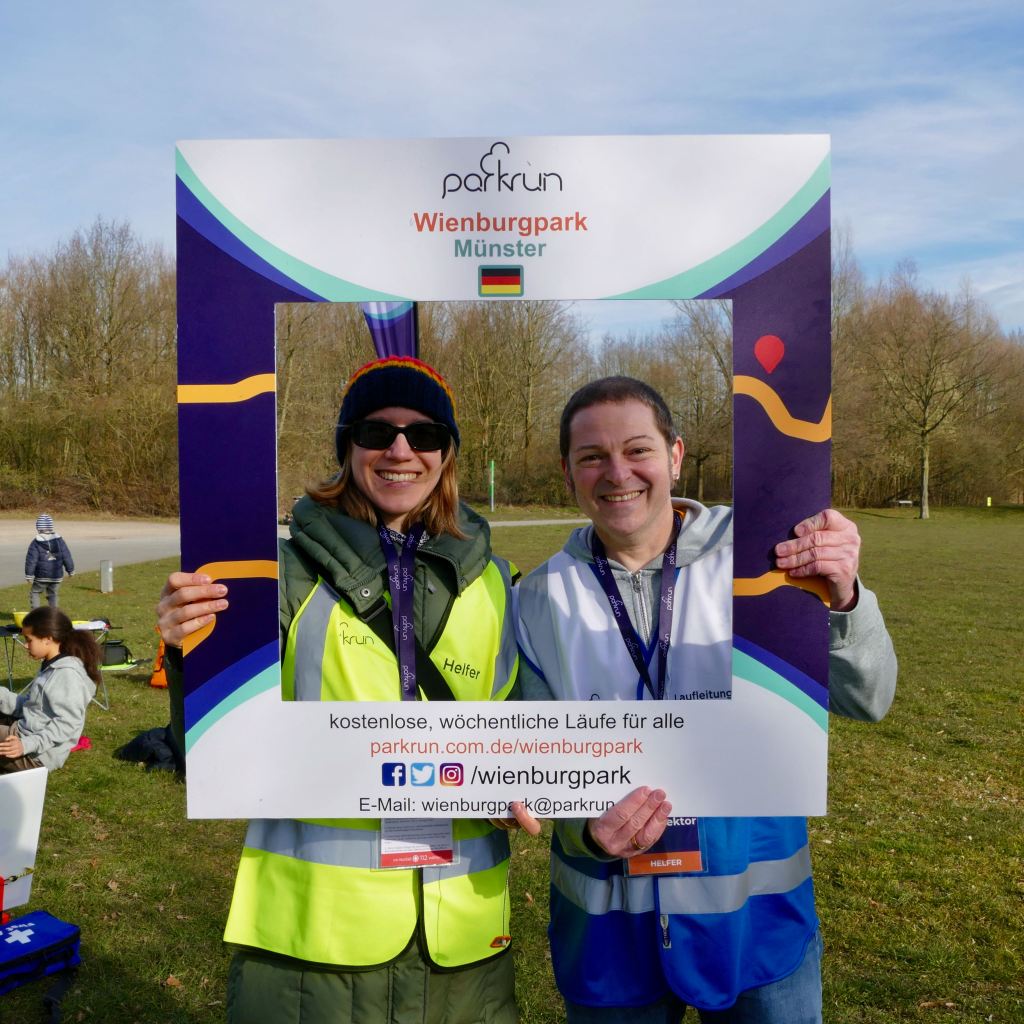
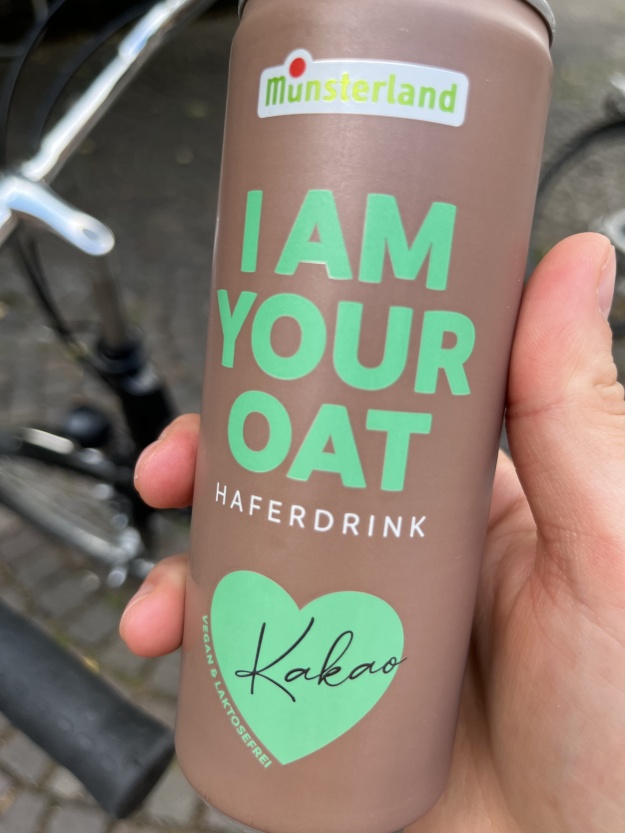
Post-race: I briefly checked in with the other parkrunners before grabbing a tasty chocolate oat drink (German races do have good post-race drinks!) and cycling slowly home to watch the Tour de France stage highlights with F.
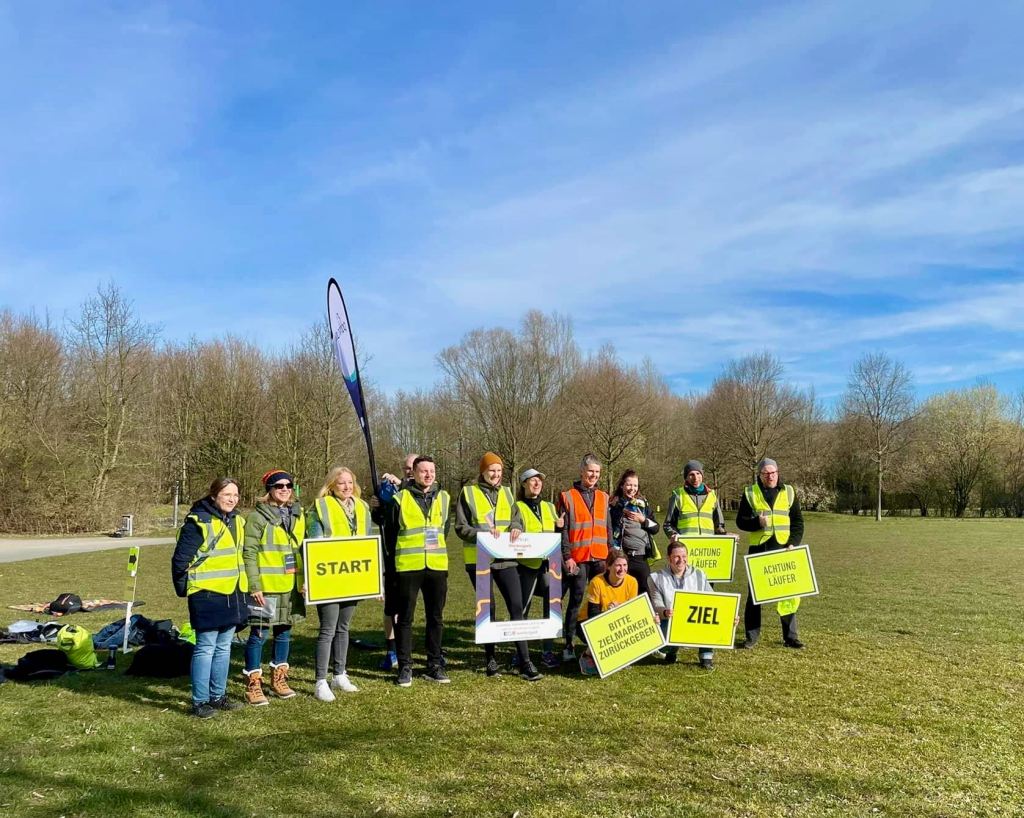
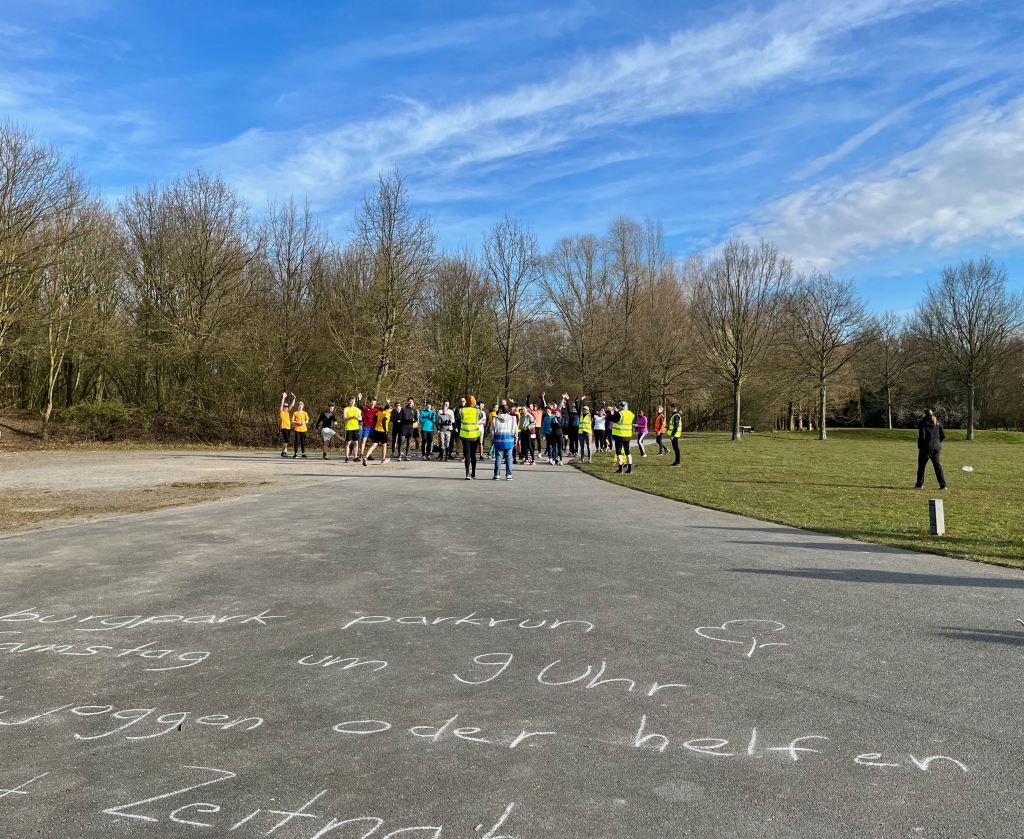
Next up: Nothing on the race calendar, but as usual I’ll be at the Wienburgpark parkrun in Münster every Saturday that I can. Come by and run with us!